



A new computer arrives, or a phone finally gives out, and everything you care about is still on the old one. Photos, tax paperwork, the folder of scanned documents you spent a weekend building. Before you touch a cable, two questions settle how the move should go: how much are you moving, and how private is it?
How much you’re moving determines the route. A handful of documents moves one way and 400 gigabytes of family photos another. Privacy picks the precautions, and a folder of medical bills calls for more care than a folder of recipes.
In this post, we explore the common moves for various operating systems and devices, and the steps for each.
Before You Start Moving Files
Fifteen minutes of setup saves an afternoon of troubleshooting. Start preparing by taking the following steps:
- Get a rough size of what you’re moving. Right-click your main folders and check properties (Windows) or Get Info (Mac). A few gigabytes is an easy wireless or cloud job. Several hundred are better served with a cable or an external drive.
- Back up the old device first, and plug both devices into power. A failed transfer is only a problem if the original is already gone, and a sleeping laptop stops the job. There’s a rundown of what to back up on your computer if you’re unsure what belongs in that copy.
- Decide what stays behind. Old drives collect files nobody needs, so sort those out rather than copying everything forward by default.
How to Transfer Data From One Computer to Another
Every method below works one of three ways. You connect the two devices with a cable, you connect them wirelessly, or you park the files somewhere in the middle, a cloud account or an external drive, and pick them up from the other side. Cables are fastest, but the middleman approach works when the two devices can’t talk to each other at all.
Windows to Windows
Windows 11 now includes a PC-to-PC transfer inside the Windows Backup app, so file transfer from PC to PC no longer needs a third-party tool. The old machine can run Windows 10 or 11, but the new one has to be on Windows 11, version 2024 or later.
- Put both computers on the same Wi-Fi network and plug them in.
- Open Windows Backup on the old PC and choose the transfer option.
- Enter the old PC’s name on the new one, then type the one-time pairing code it shows.
- Pick the folders you want, start the transfer, and leave both machines awake.
It moves your files and personalization settings, not your installed programs, and it skips saved passwords and BitLocker-encrypted drives, so decrypt those before you start.
Mac to Mac
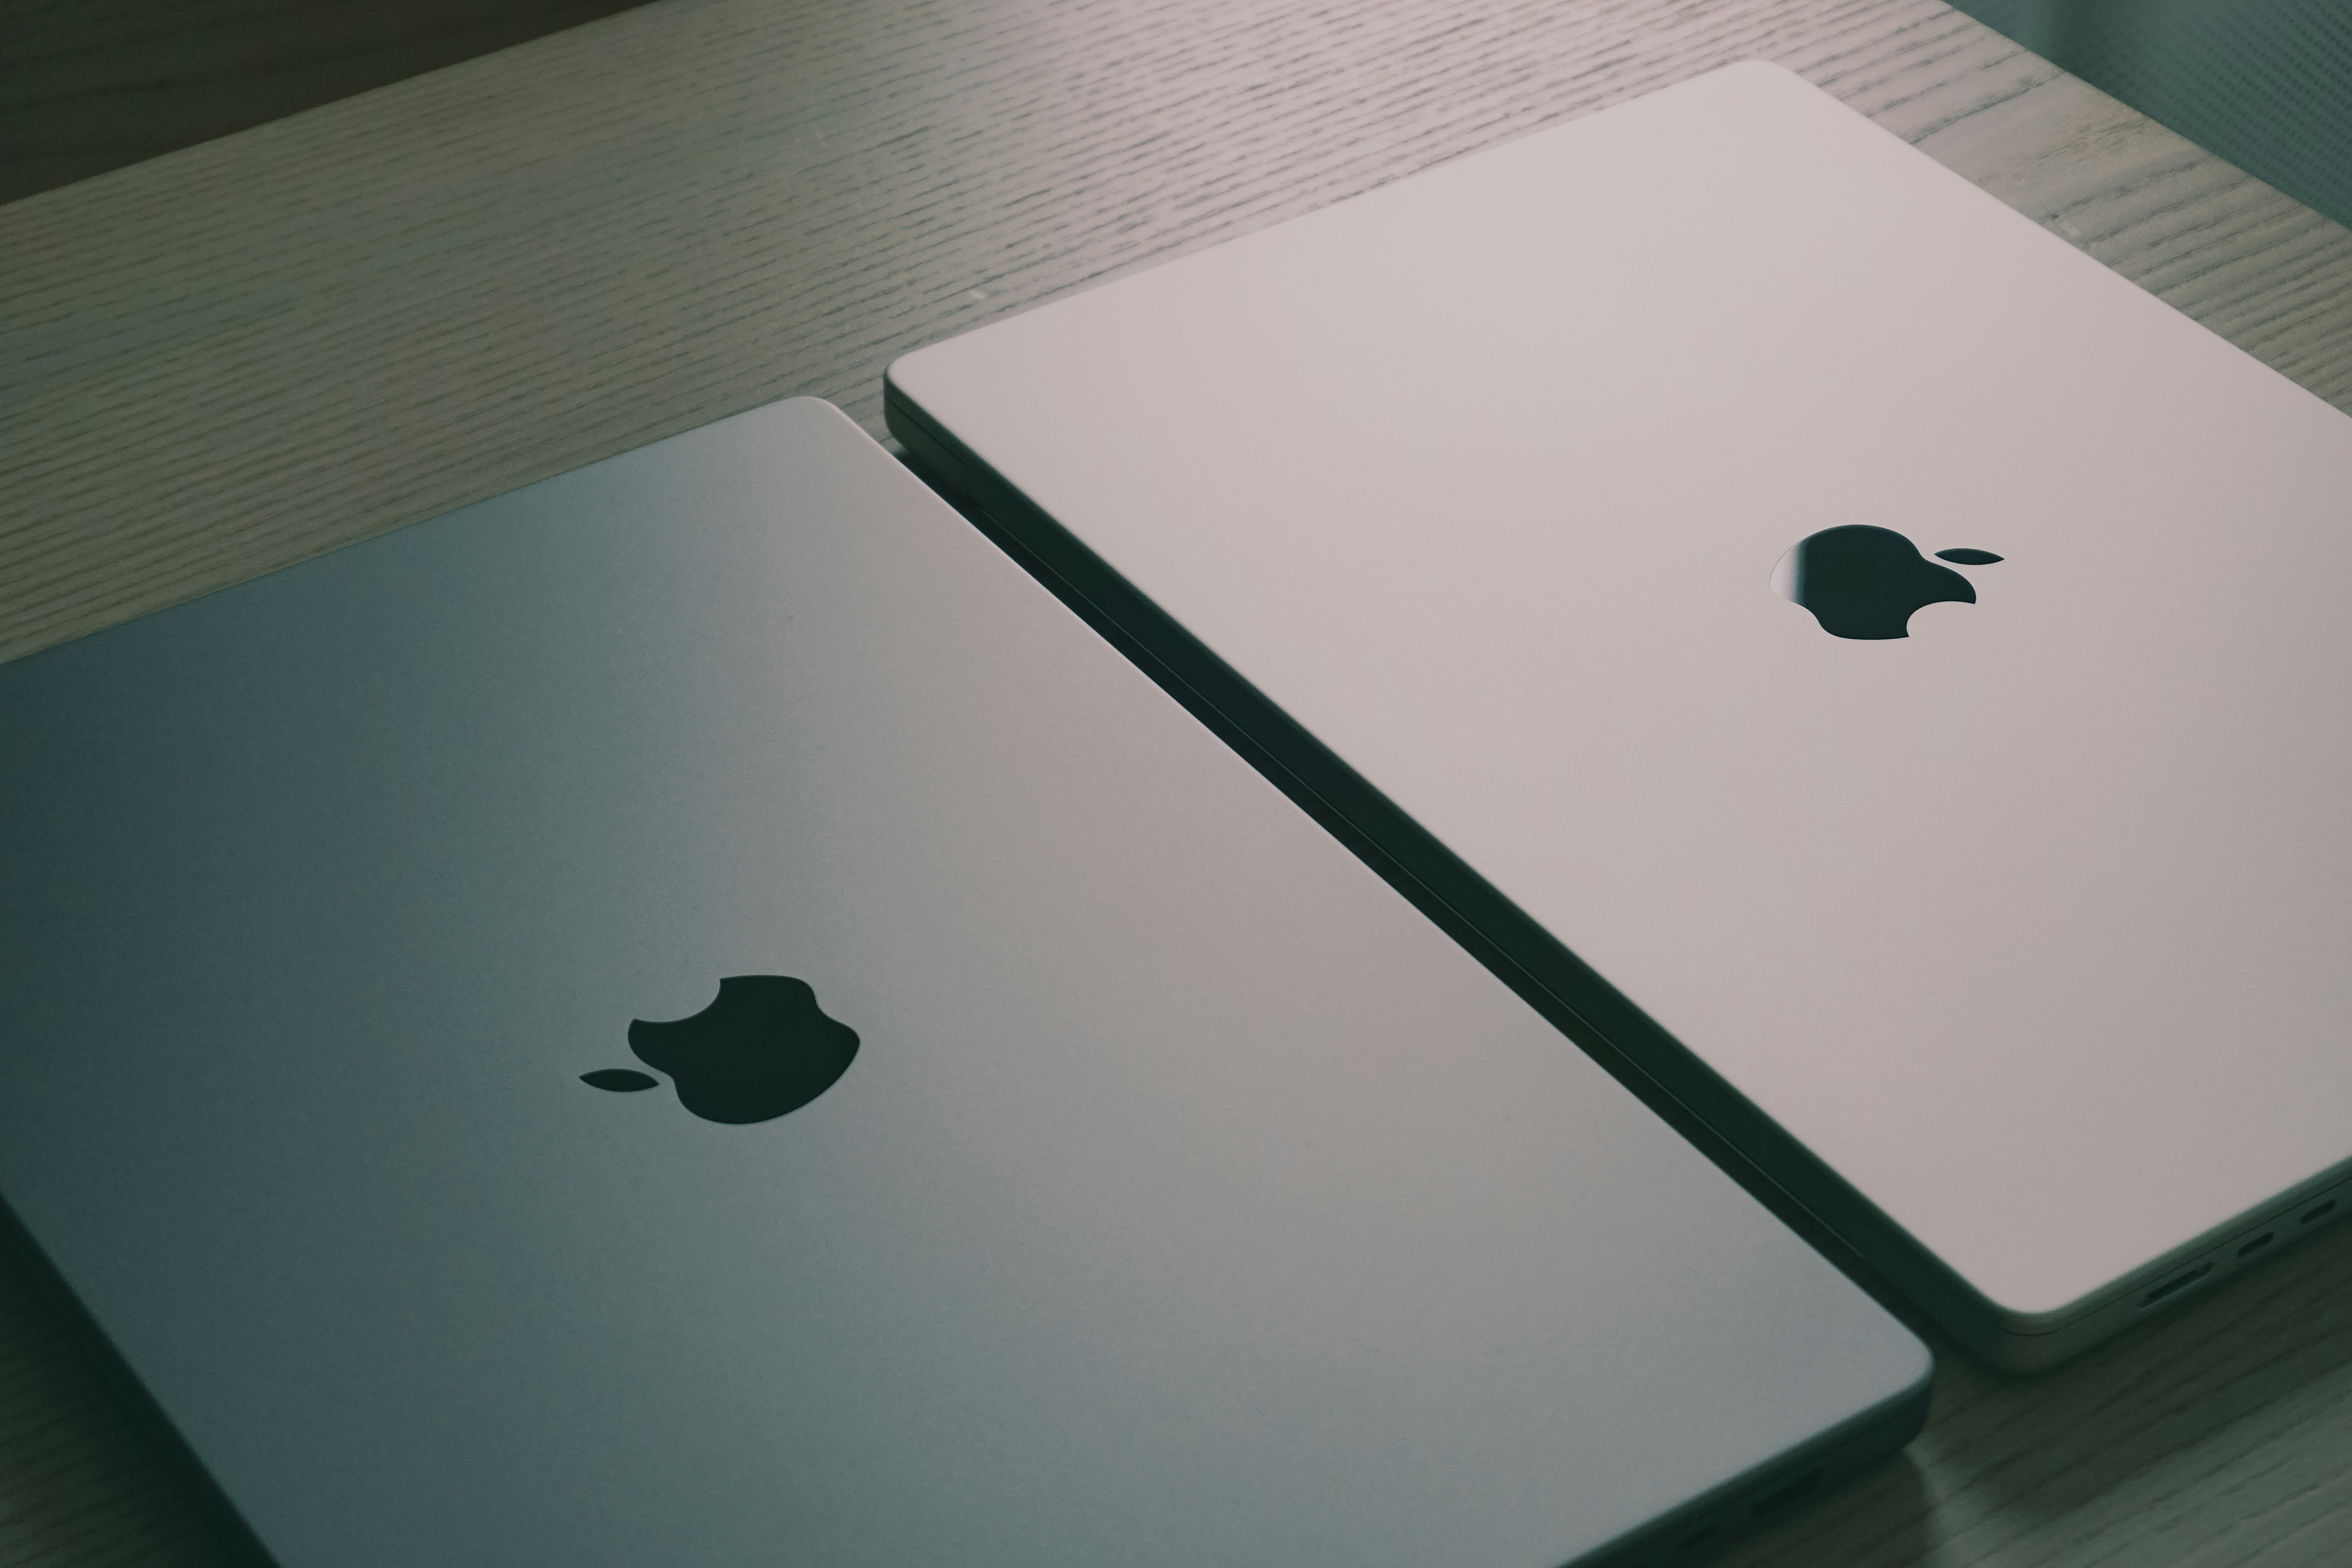
Migration Assistant is built into macOS and handles documents, apps, user accounts, and settings in one pass. Open it on both Macs, choose “to another Mac” on the old one and “from a Mac, Time Machine, or startup disk” on the new one, confirm the matching security code, then pick what comes across. Apple recommends turning off antivirus, firewall, and VPN software first. A full user account typically takes hours.
Mixed Machines
Apple’s Windows Migration Assistant pulls documents, photos, mail, contacts, and bookmarks from a PC into a Mac. Going the other way, an external drive still works.
How to Transfer Files From Phone to Computer
The cable in the box does more than charge, and moving photos off a phone is a five-minute job. Also make sure to confirm the file count before you delete anything from the phone, since import tools skip files more often than people expect.
iPhone to a Windows PC
Connect by cable, unlock the phone, and tap Trust. The Windows Photos app offers to import your camera roll. The Apple Devices app, which took over iTunes’ job on Windows, handles syncing and backups.
iPhone to a Mac
Connect by cable and the phone appears in the Finder sidebar, where you can back it up or drag files out. AirDrop handles one-off files with no cable.
Android to a Windows PC
Connect by cable, pull down the notification shade, and change the USB setting from charging to file transfer. The phone shows up in File Explorer as a drive you can drag from. Phone Link brings recent photos across wirelessly, and its drag-and-drop file transfer works on select Samsung, Honor, Oppo, Asus, Vivo, and Xiaomi handsets running a current build of the preinstalled Link to Windows.
Android to a Mac
Google pulled the download page for its old Android File Transfer utility in 2024, and the Quick Share desktop app runs on Windows only. Sign into Google Drive or Google Photos on both devices, and pull the files down from there.
How to Transfer Data From Android to Android
Android does its best work during setup, before you tap through to the home screen. Power on the new phone, connect it to Wi-Fi, and choose the option to copy from another device.
- Charge both phones and make sure you can unlock the old one with its PIN, pattern, or password.
- Sign into your Google Account on the old phone, since that’s what carries the most across.
- Scan the QR code the new phone displays using the old phone’s camera.
- Choose what to copy: apps, photos and videos, messages, call history, and Wi-Fi passwords.
- Leave both phones alone until it finishes.
Samsung layers Smart Switch on top of this, and it supports a cable running directly between the two phones — worth using for a large photo library. If you already finished setup, reset the new phone and start over, or move things piecemeal through Google Photos and Drive.
How to Transfer Data From Android to iPhone
Apple’s free Move to iOS app does this, and the timing rule is the same: it runs during iPhone setup, not after. Choose “From Android” on the iPhone’s setup screen, install Move to iOS on the Android phone, enter the code the iPhone generates, and let the Android phone join the temporary Wi-Fi network the iPhone creates. The newest Android releases can start the transfer without installing anything.
Apple’s list of what comes across is longer than most people expect: contacts, message history, photos and videos, files and folders, bookmarks, mail accounts, WhatsApp messages and media, voice memos, call history, and calendars. Free apps on both platforms come too.
Music, books, and PDFs have to be moved by hand, and anything you paid for doesn’t transfer at all. Miss the setup window and you have two options, both worse than getting it right the first time: erase the iPhone and start over, or move the content across manually. Finish this before you customize anything.
How to Transfer Data From iPhone to iPhone
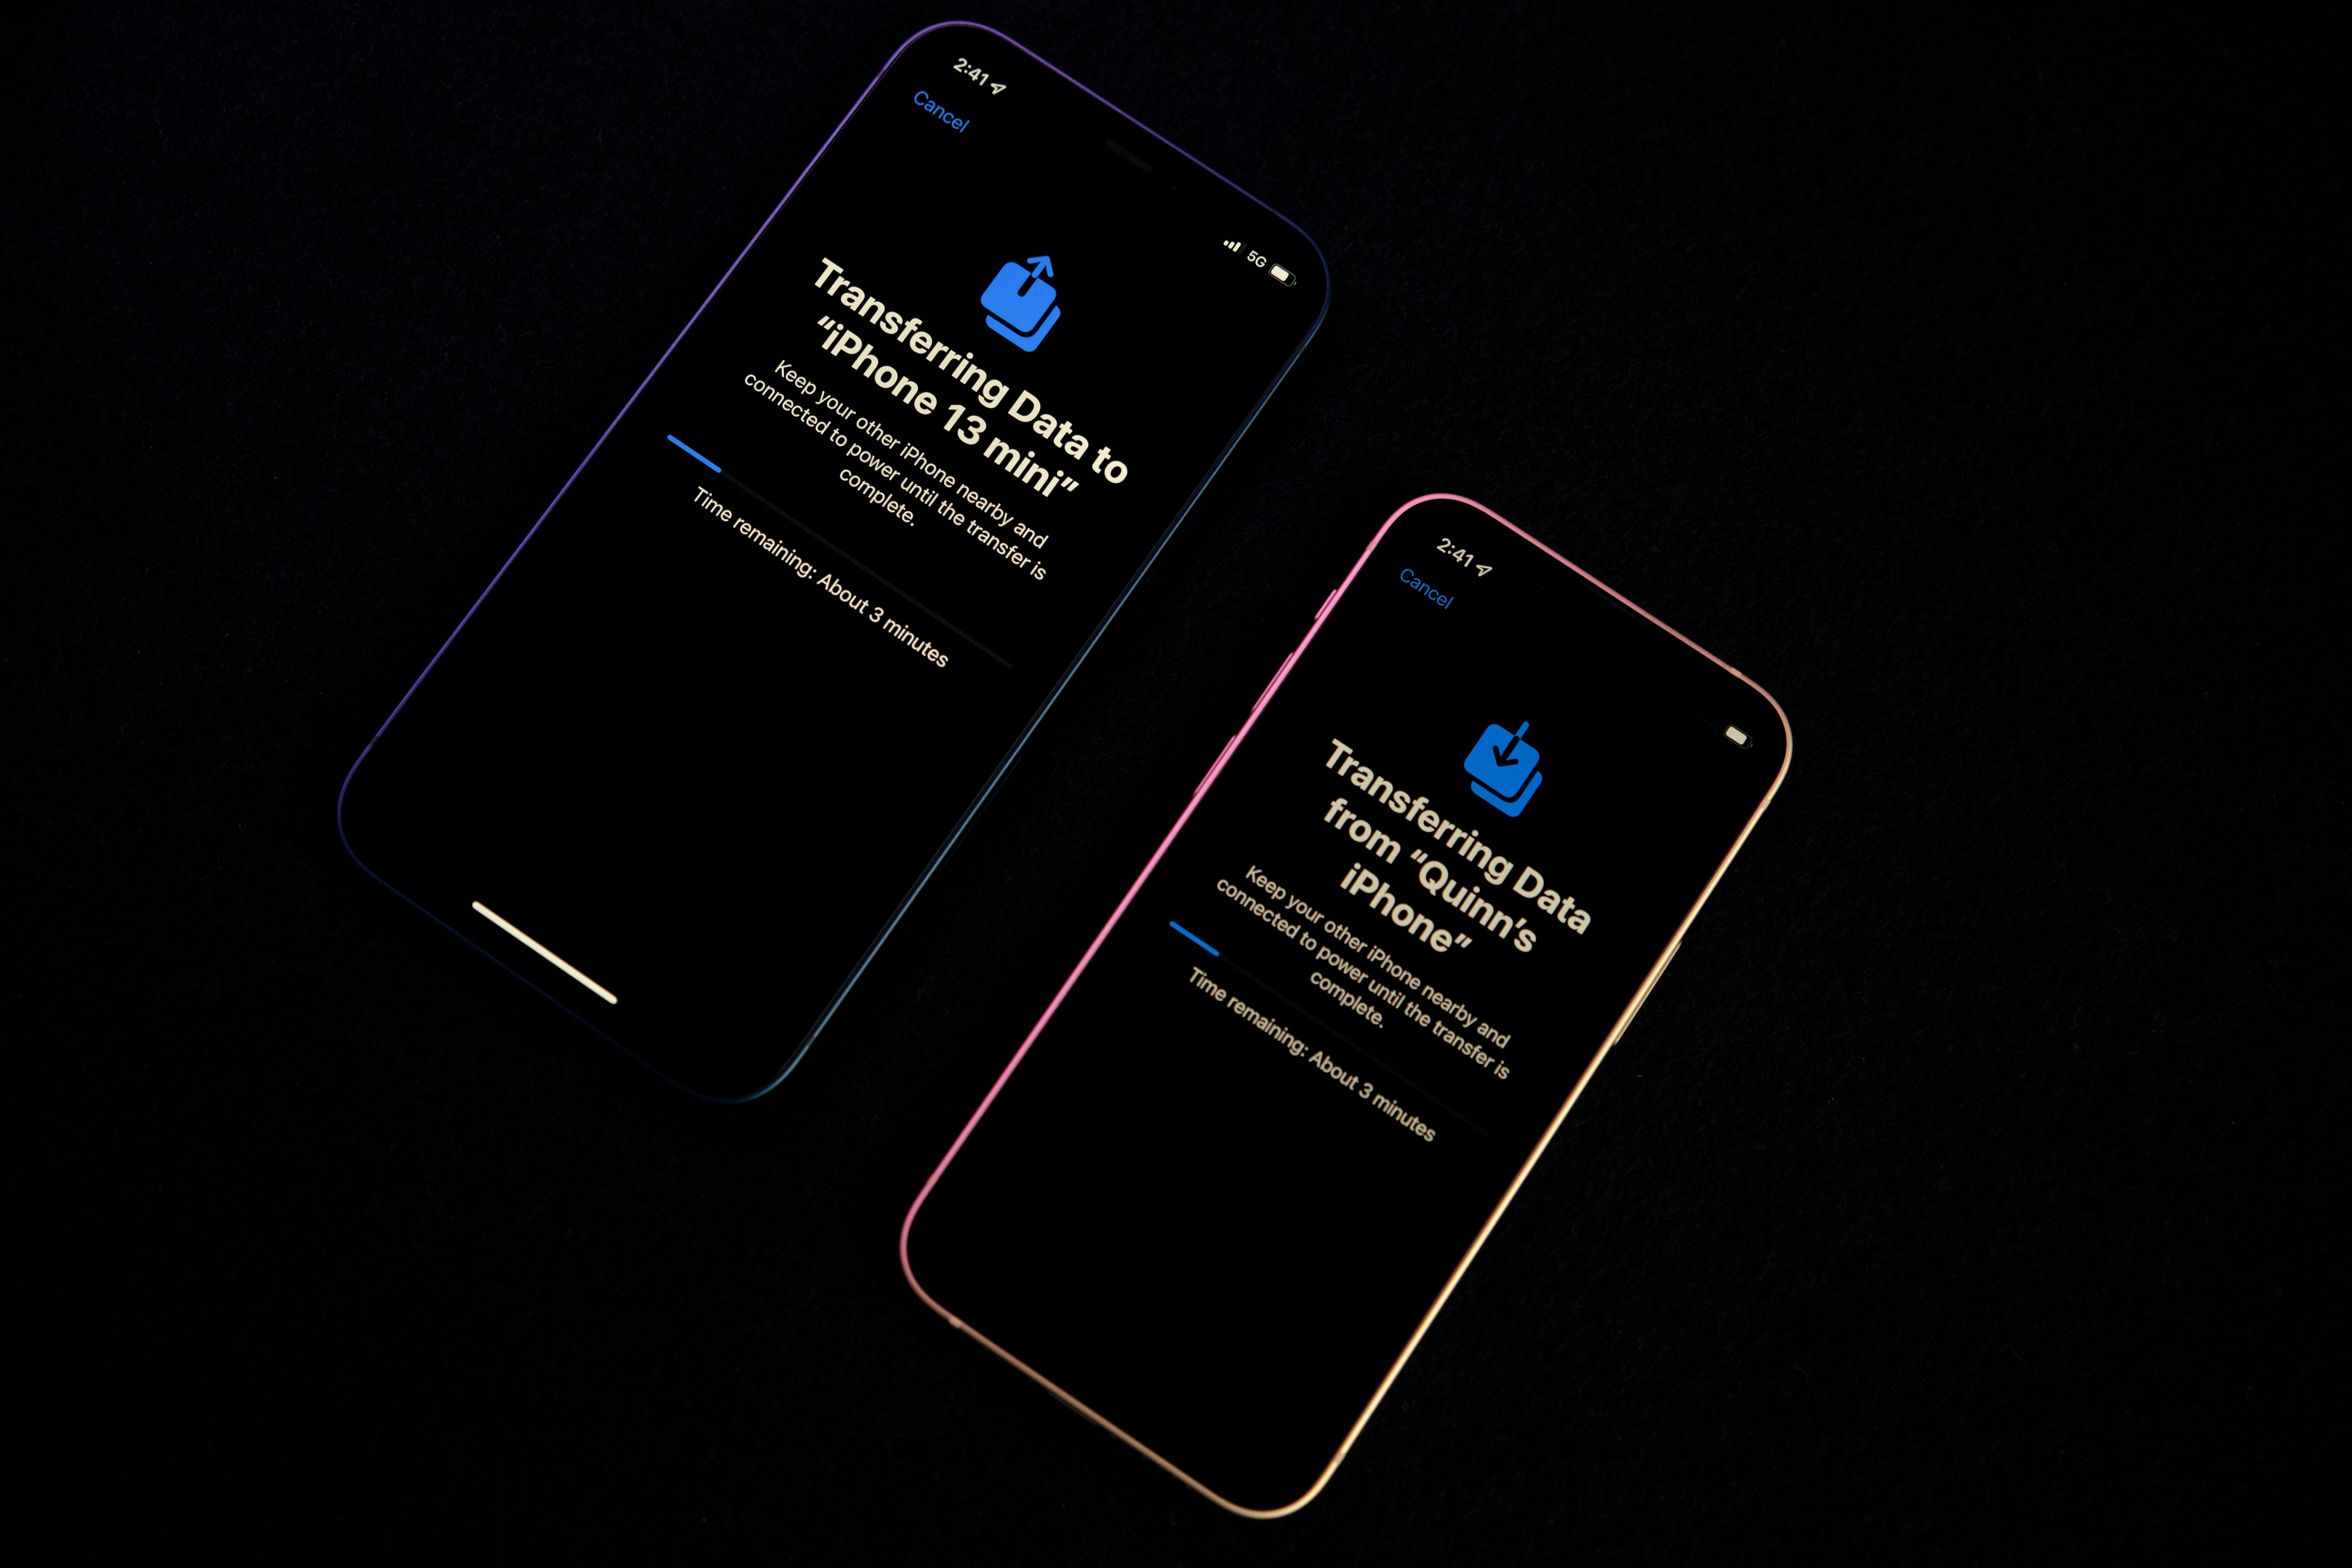
Quick Start handles this one, and it works as long as the old iPhone runs iOS 11 or later. Turn on the new iPhone and hold it next to the old one.
- Make sure the old iPhone is on Wi-Fi with Bluetooth turned on.
- Follow the prompt on the old phone to set up the new one with your Apple Account.
- Scan the animation the new iPhone displays using the old iPhone’s camera.
- Set up Face ID or Touch ID.
- Choose how the data arrives, either by downloading it from iCloud or by transferring it straight from the old iPhone.
Downloading from iCloud lets you start using the phone right away while apps fill in, but it depends on your iCloud storage covering everything. A direct transfer takes longer and ties up both phones. Apple supports a wired transfer between them too, steadiest for a large library, and either way both phones stay put and on power until it finishes.
How to Transfer Data From One Hard Drive to Another
Moving a drive’s contents means either copying the files or cloning the drive, and the two aren’t the same job. Copying is like moving your books onto a new shelf. Cloning is like lifting the whole shelf, books and dividers and all, and setting it down in the new room.
To copy files between drives:
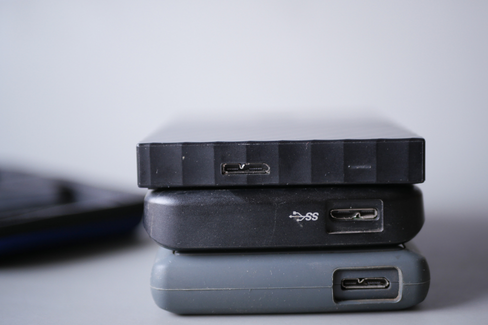
- Connect the second drive through a USB dock, an external enclosure, or a spare SATA port inside a desktop.
- Drag the folders you want. Documents, Pictures, Desktop, and Downloads cover most of what people miss later.
- Check the file count and total size on both sides before you erase anything.
- Use a USB 3.0 or faster port. On a drive holding several hundred gigabytes, the difference is hours.
Cloning needs imaging software and a target drive at least as large as the space in use on the original. It’s the right call when you’re replacing a system drive and don’t want to reinstall everything, and the wrong call when the source drive is failing, because a clone copies the damage along with the data.
If a drive is on the verge of failure, get the irreplaceable files off first. It also pays to work out how much hard drive space you need beforehand.
Keeping Your Files Safe in Transit
An ordinary file transfer is a padded envelope. Anyone who ends up holding it can open it. Encryption turns it into a locked box. The contents are nonsense without the key, so losing the drive means replacing hardware instead of reporting a breach.
That distinction stops being academic the moment the files include a Social Security number, a bank statement, or an employee file.
- Encrypt the external drive before you load it. Windows offers BitLocker To Go on removable drives; macOS can format a drive as encrypted and open it with a password.
- Don’t email sensitive documents as plain attachments. Gmail caps attachments at 25 MB and converts anything larger into a Drive link, which makes the file’s security the link’s security.
- Check who can open a shared link, then delete the middleman copy. “Anyone with the link” is the default in more places than it should be, and the USB stick left in a desk drawer is the one that gets lost.
- Move regulated material under its own rules. The Federal Trade Commission’s Disposal Rule requires reasonable measures for consumer report information, and a health care provider or one of its business associates carries obligations under the Health Insurance Portability and Accountability Act (HIPAA) that don’t pause because a file is in transit.
Sorting which files you need to encrypt is worth doing once instead of guessing each time, and the mechanics are covered in a walkthrough of how to encrypt your data. If the transfer is really a hand-off between people who will both keep working on the files, a sync service beats a one-time copy — mistaking cloud storage for file sharing or backup is how a team ends up with four versions of one spreadsheet.
Wiping the Device You’re Leaving Behind
Deleting a file doesn’t erase it. It removes the entry from the index, the way tearing a page out of a book’s table of contents doesn’t remove the chapter. The data sits there until something writes over it, which is why secondhand drives keep turning up with the last owner’s tax returns on them.
The National Institute of Standards and Technology sorts the fix into three levels in SP 800-88 Rev. 2, published in September 2025: clear, purge, and destroy. Clearing is a normal overwrite, fine for a family laptop. Purging uses the drive’s own sanitize commands or a cryptographic erase and leaves it reusable. Destroying is physical, and it’s the level regulated data usually calls for.
On a personal device, sign out of your accounts, turn on full-disk encryption if it isn’t already, then factory reset. That throws away the key and leaves the rest unreadable.
A business device changes the calculation. A drive holding customer files, employee records, or patient data is a liability until it’s properly disposed of, and a factory reset leaves no evidence you can hand a regulator. A NAID AAA-certified provider destroys the drive and issues a certificate of destruction, which is what a regulator asks to see. Ask about that certificate before the old equipment piles up in a closet.
The Files That No Cable Can Move
No device migration helps with the filing cabinet, which has no USB port. Most households and nearly every small business run two archives at once — a digital one that moves to the new laptop in an afternoon, and a paper one that doesn’t move at all. Long retention obligations attach mostly to what’s on paper: signed contracts, closed loan files, I-9s and personnel folders, and patient charts whose retention periods are set by state law. Backup tapes and microfilm belong to this same category, since the readers are specialized enough that handling tape and microfilm is a service call. Digital copies aren’t immune either — a drive dies, a backup turns out corrupted — which is the case for keeping more than one copy.
Digitizing solves the transfer problem, because the next migration only has to move a file structure. It also solves the retrieval problem. A scanned document is useful only if it’s indexed well enough to find, which is why providers pair conversion with a document management system or cloud file storage instead of handing back a folder of PDFs named by scan date.
The originals still need a room to sit in. For records a small business can’t legally shred yet and doesn’t want in the back room, offsite records storage in a provider’s licensed facility is the usual answer — the standard route for personnel and HR files that must stay accessible for years, and for medical practices with state-specific chart retention.
How Record Nations Can Help
Record Nations matches you with local scanning and storage companies that fit the job, based on your volume, your industry, and the certifications your records require.
Our network reaches secondary metros as readily as the big ones, so providers near Madison, WI, Minneapolis, MN, and Boise, ID take on the same work as ones in a coastal hub — document scanning projects from a single banker’s box to a warehouse of files. Tell us what you’re working with and we’ll help you compare competitive quotes from providers who have already done that kind of job.
Call (866) 385-3706 or fill out our form, and we’ll help you get multiple quotes from providers in your area.